Tuesday, December 30, 2008

The new year starts in a little more than 24 hours from now. I doubt I'll get to post soon after today so let me be the first to say "HAPPY NEW YEAR!!'. I'm gearing up for Valentine's Day! I got some cute heart ribbons and I just couldn't wait to make some spikey bows!! I also fell in love with some "hugs and kisses" ribbon and made some clippies! Most are available in my Etsy shop as of right now. I've got some more I'll be listing soon too! Just need to take some pictures :)


Friday, December 12, 2008

How To Make a Ribbon Pouch

Ribbon Pouch Tutorial

Here is something you can do with all that beautiful wired ribbon! Make a pouch to put little treasures or favors in!
17 ribbonpouch tute

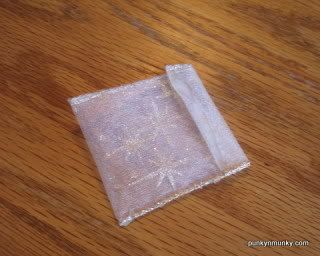
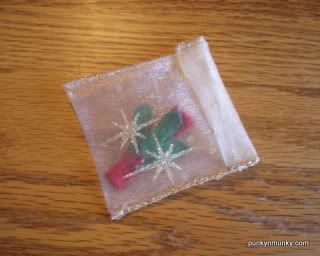
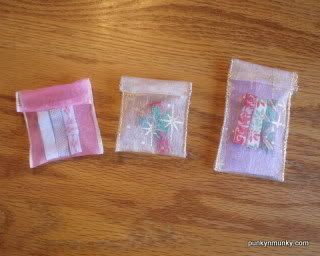
The following instructions will show you how to make a sheer ribbon pouch that measures approximately 2.5” x 2.5”. Perfect size for clippies! Use different sized ribbon and different lengths to get various sizes of pouches.
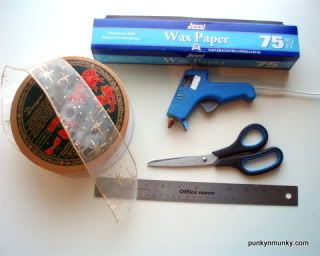
Supplies:
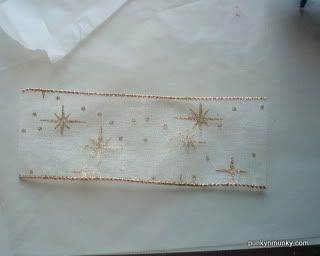
 2.5” Sheer Wired Ribbon
 Hot Glue Gun and Glue Sticks
 Waxed Paper
 Ruler
 Scissors (NOT your best fabric cutting scissors!)
01 ribbonpouch tute
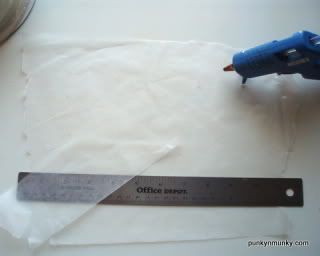
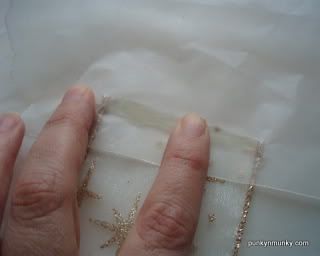
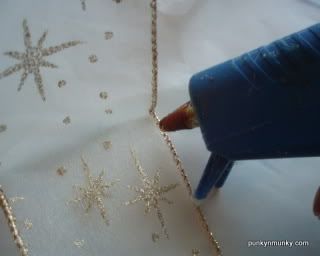
Step 1: Set up your work area by placing a sheet of waxed paper down on your work surface, and tear off an extra piece as shown. If using something other than sheer ribbon, the waxed paper may be unnecessary.
02 ribbonpouch tute

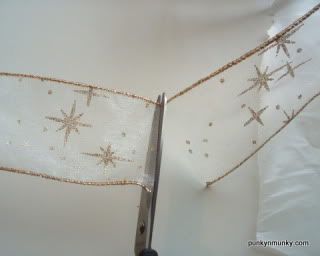
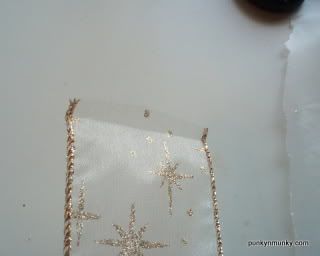
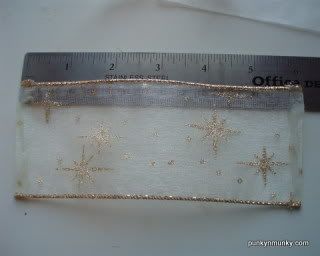
Step 2: Measure 6.5” from the end of the ribbon and cut.
03 ribbonpouch tute 04 ribbonpouch tute 05 ribbonpouch tute

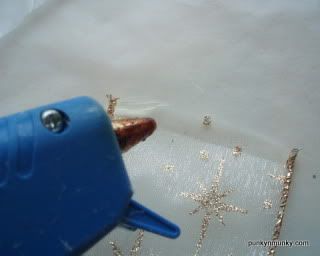
Step 3: Measure approximately .25” from the cut edge and fold the ribbon, crease, then open back up slightly. Using your hot glue gun put a bead of glue along the edge. Immediately replace fold and using the scrap of waxed paper press the fold to seal the glue. Quickly remove the waxed paper from the top and from your work surface if using sheer ribbon before the glue cools completely. Otherwise you’ll be peeling paper off of your pouch! Repeat on other end, folding both to the same side.
06 ribbonpouch tute 07 ribbonpouch tute 08 ribbonpouch tute09 ribbonpouch tute

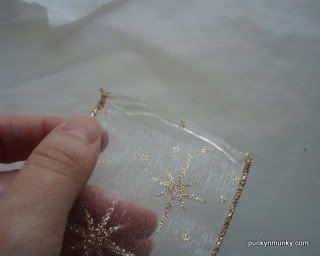
Your ribbon will now measure approximately 6”.
10 ribbonpouch tute

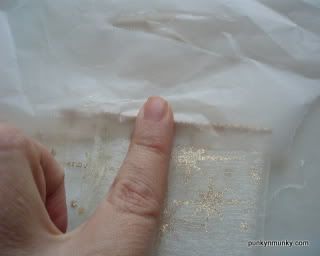
Step 4: Measure 2.5” from one end and fold/crease.
11 ribbonpouch tute12 ribbonpouch tute

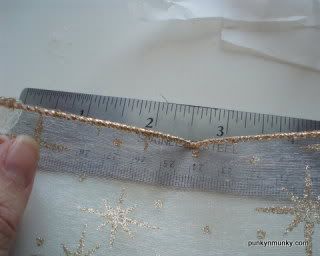
Place a bead of hot glue along the short wired edge and press together. Repeat on other side.
13 ribbonpouch tute14 ribbonpouch tute15 ribbonpouch tute


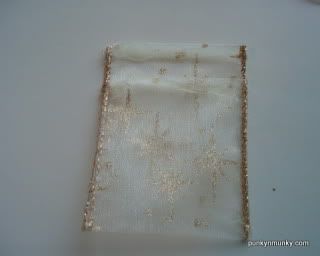
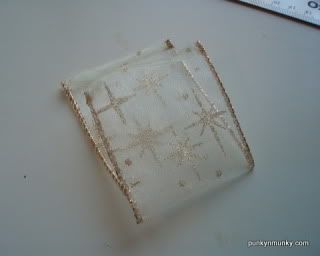
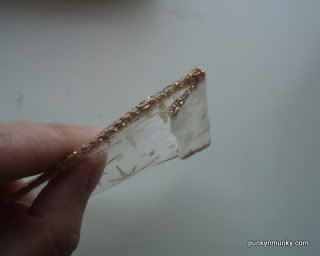
Step 5: Fold the end that is extending over to make the flap covering the opening.
16 ribbonpouch tute17 ribbonpouch tute
Place any small treasure into the pouch, perfect for gift giving! The sample pouch made in these instructions is just the right size for clippies! You can even make it a little longer to accommodate a business card!
18 ribbonpouch tute 19 ribbonpouch tute

Hope you enjoy!
Wendy

Friday, December 5, 2008

The CPSIA

The Consumer Product Safety Commission has passed legislation known as the Consumer Product Safety Improvement Act (CPSIA).
http://www.cpsc.gov/ABOUT/Cpsia/cpsia.html
This is going to seriously change my business. While I agree that there needs to be some regulation, and that the safety of our children is of the upmost importance, I am very upset. I enjoy making items for children, but will not be able to afford to comply to the testing regulations, nor the penalties if caught not complying completely to this law. I believe it is overkill. Here is a blog post that pretty much sums it all up. Please have a read!

Here are some great links

To contact your Representative:

https://writerep.house.gov/writerep/welcome.shtml

To contact your Senator:

http://www.senate.gov/general/contact_information/senators_cfm.cfm

To contact Nancy Pelosi:

http://speaker.house.gov/contact/

To sign the online petition:

http://www.ipetitions.com/petition/economicimpactsofCPSIA/

To join the Facebook group:

http://www.facebook.com/home.php?#/group.php?gid=38306568596

And if you would like to read more on the CPSIA:

http://www.cpsc.gov/ABOUT/Cpsia/cpsia.html