Not everyone is lucky enough to have beautiful wavy or curly hair. But those of us with straight hair have an option to have curly or wavy hair for a day! This set turns out really cute on little girls for a dressy occasion and looks best adorned with your favorite Punky N Munky hair accessory!
Collect your supplies:
Hair product that is appropriate for your hair type
A comb
A bunch of knit ponytail holders
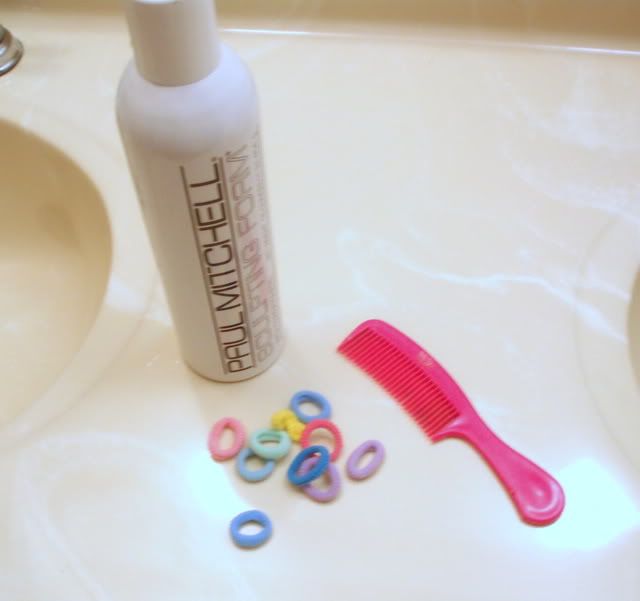
Place the hair product on clean towel dried hair and comb through to evenly distribute. If the hair is very thick, let the hair dry to just slightly damp before continuing.
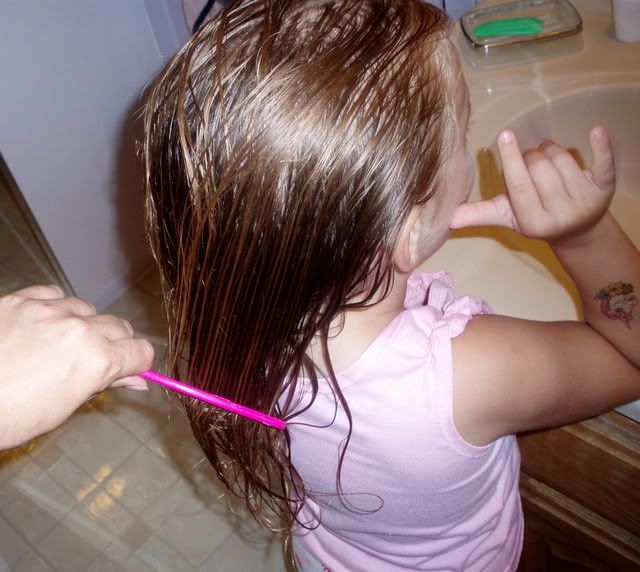
Next we’re going to make sections in the hair. Triangles, diamonds, squares, and rectangles all work well. The smaller the sections, the tighter the curl will be. You will want to experiment for what works best for the hair you are working with. I will show you what works on my model.
Using the tip of the comb, make a triangular section from the corner of the eyebrows to the center top. Allowing your model to make silly faces in the mirror can help lighten the mood :)
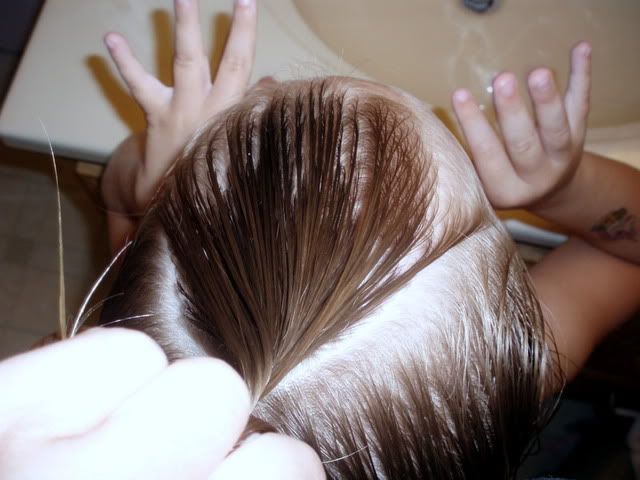
Comb the section of hair straight out from the head and then start twisting, either clockwise or counterclockwise, it’s up to you. My model thought it would help if she pointed
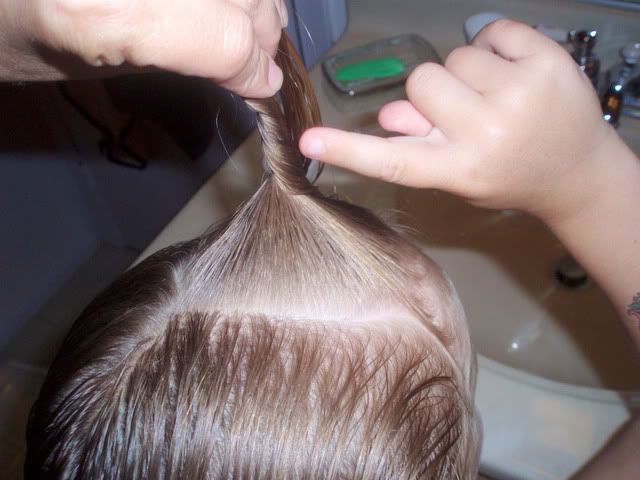
Continue twisting all the way to the ends
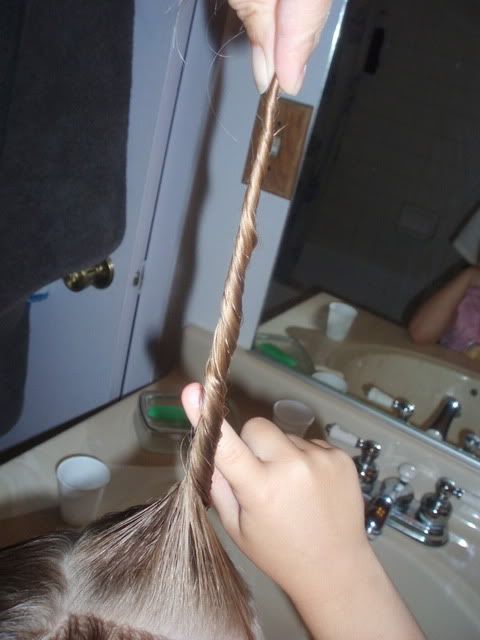
Place one hand just a few inches from the scalp and lower the hair toward the scalp, the hair should twist on itself as shown, you may need to direct the hair in place.
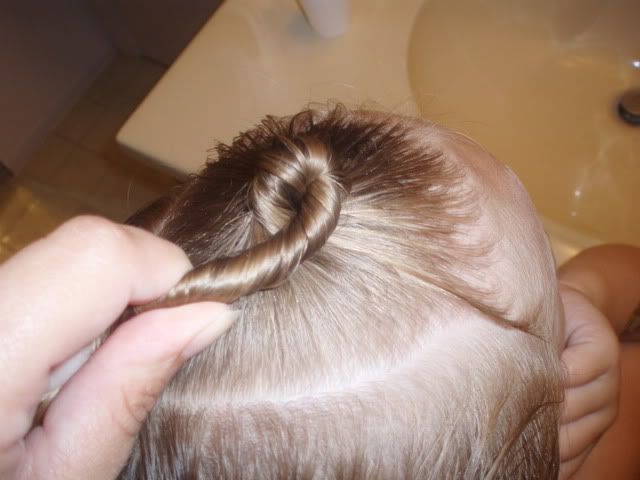
Wrap the tail around the base directing it underneath the previous coil of hair, closer to the scalp.
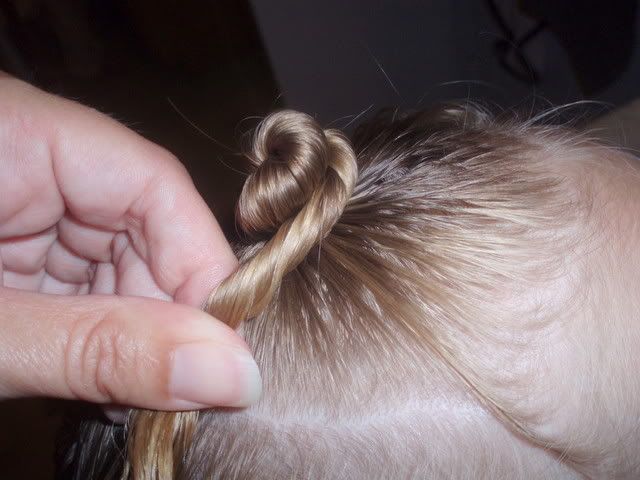
Continue wrapping the tail around the base making sure each coil goes underneath the previous one. Make sure to tuck the ends in at the bottom.
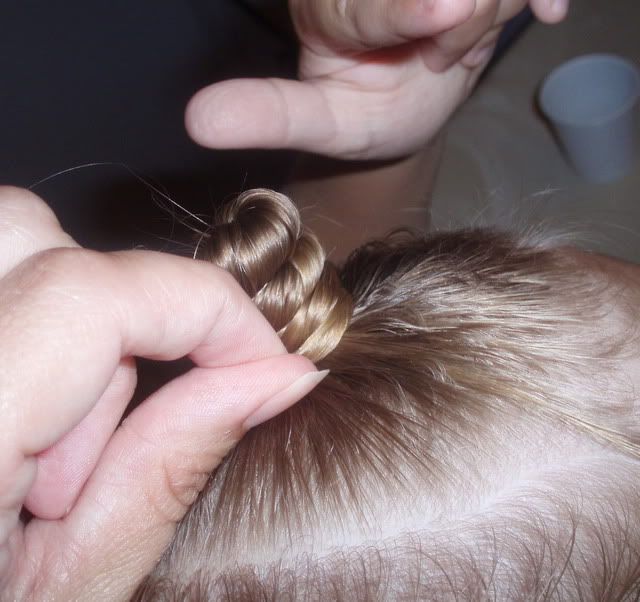
Place one ponytail holder over the knot and wrap around the base to hold the ends in.
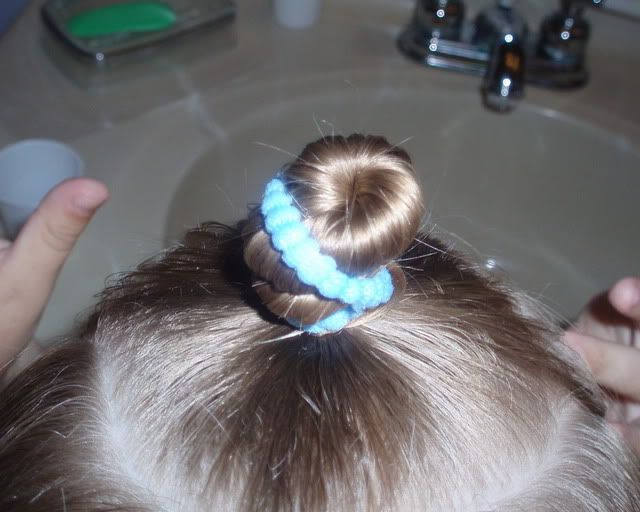
Make the next section from the tip of the triangle of the previous section to the ear. If the hair is thick, you may want to make this into two sections. My model has fine thin hair.
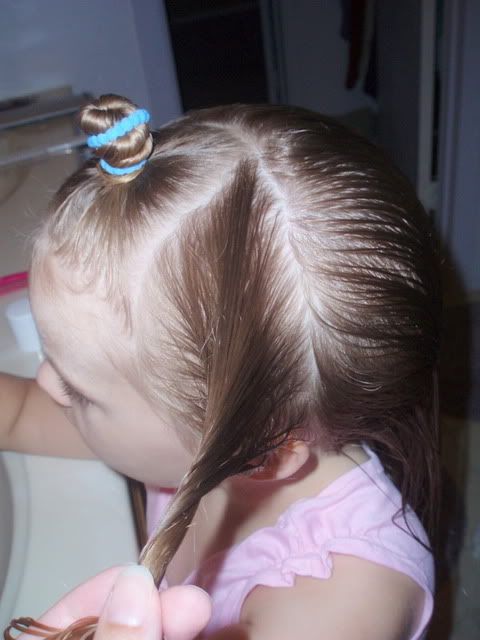
Repeat the steps for twisting the hair and securing the knot.
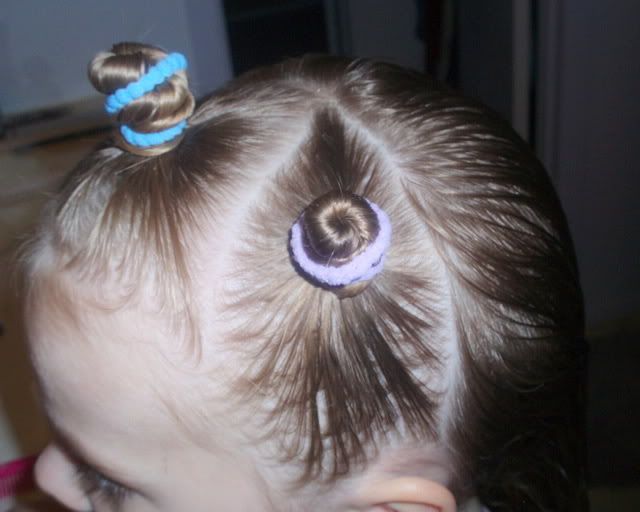
Make the same section on the other side of the head and repeat
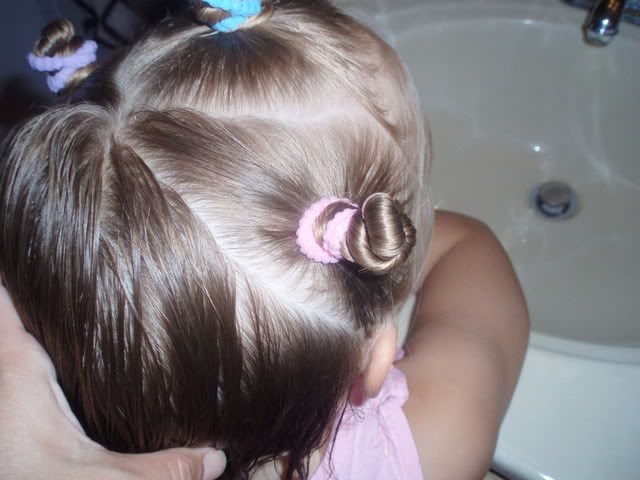
Create your next section in the center behind the previous sections. I used diagonal partings resembling a V. Make and secure the hair knot.
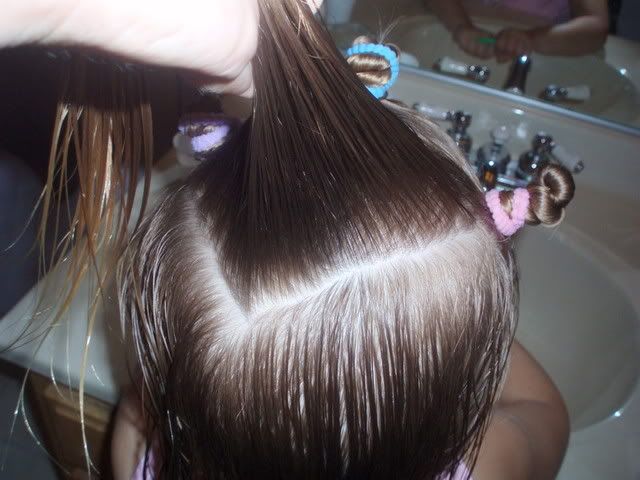
Your next section will be from the bottom/tip of the previous triangle to behind the ear on both sides.
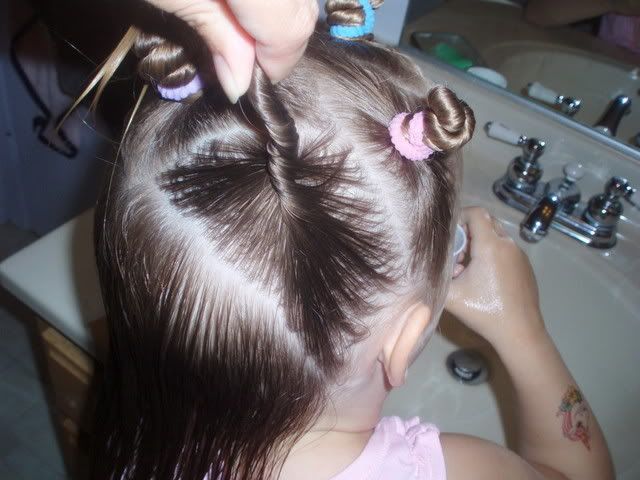
After you’ve done both sides, make another V in the center and place your knot.
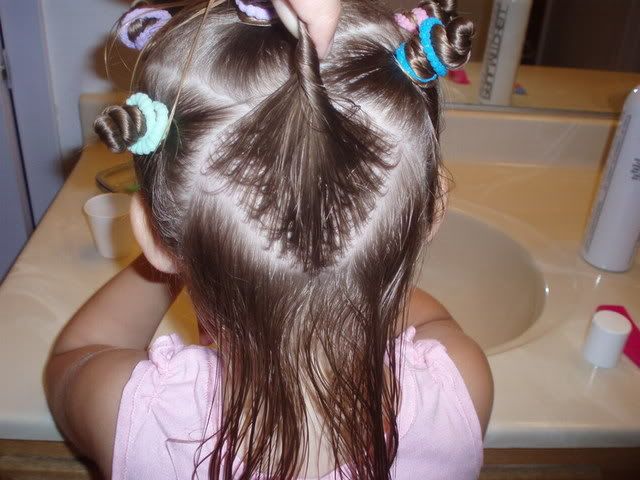
You will have 2 sections left
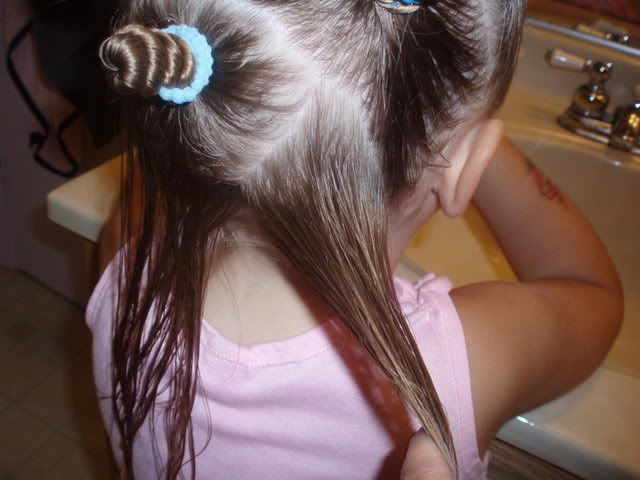
Make and secure your last knots
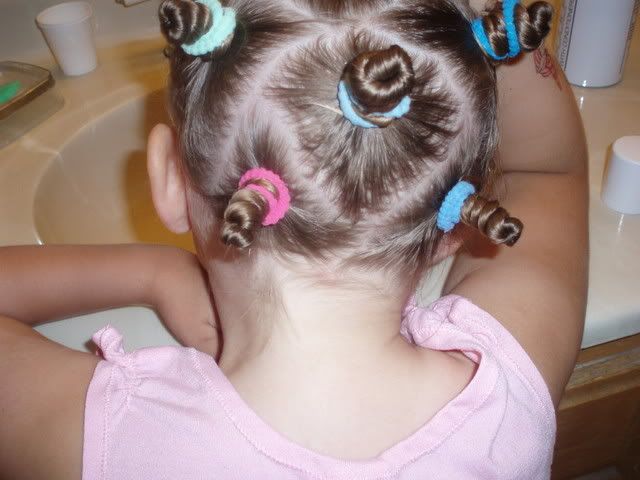
Here is what it will all look like
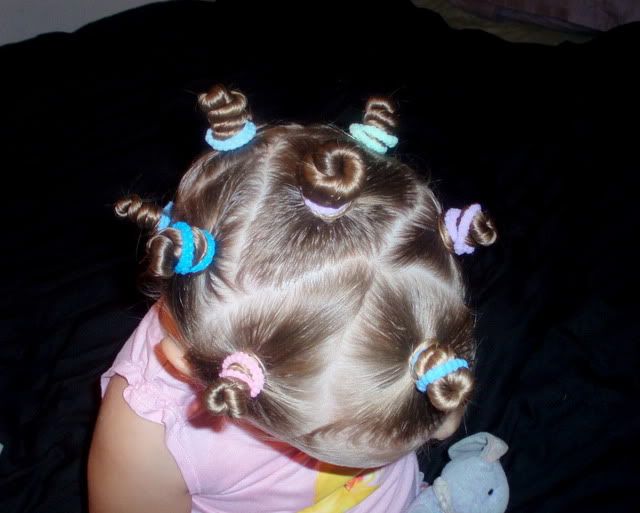
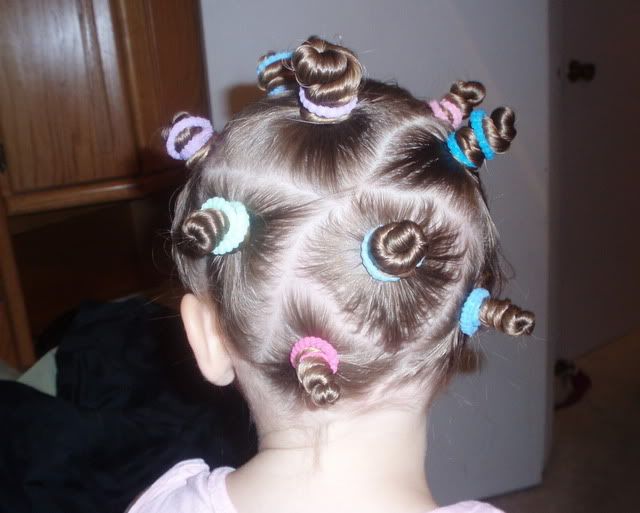
My model thinks she looks like a bug
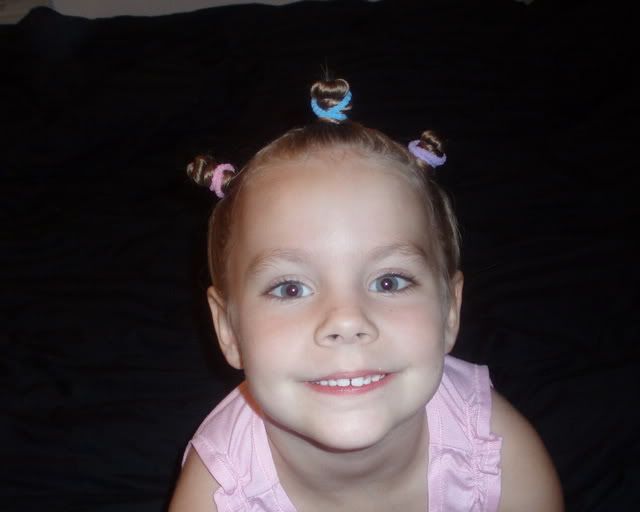
Tuck your model into bed and let the hair dry overnight
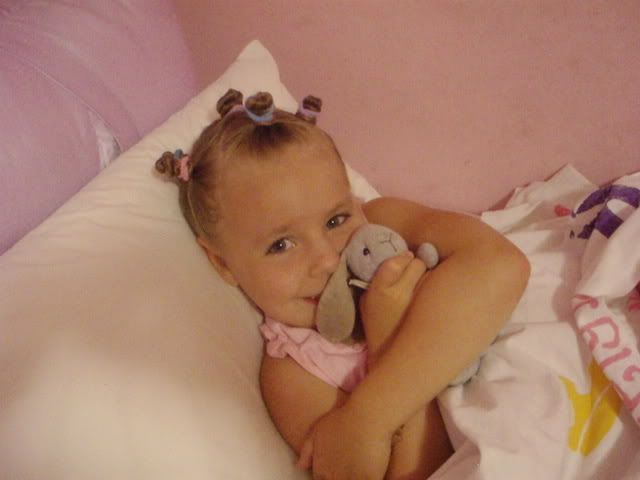
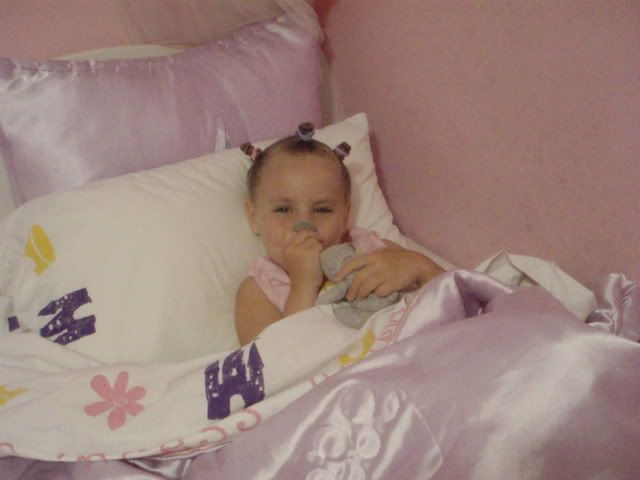
Check on her in a little while and make sure she is sleeping soundly, give her a little kiss…
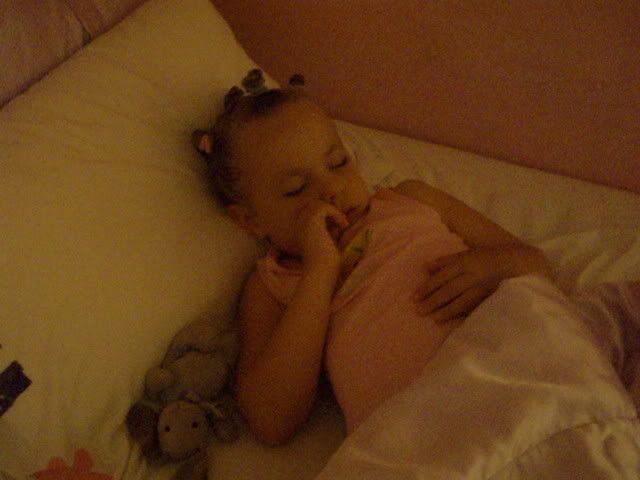
In the morning remove the ponytail holders, feeding them breakfast at the same time can help with the attention span of young models!
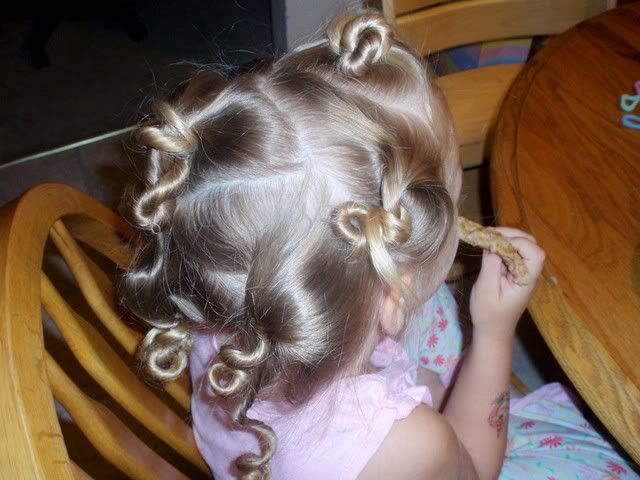
Using your fingers, comb though the hair to undo the knots.
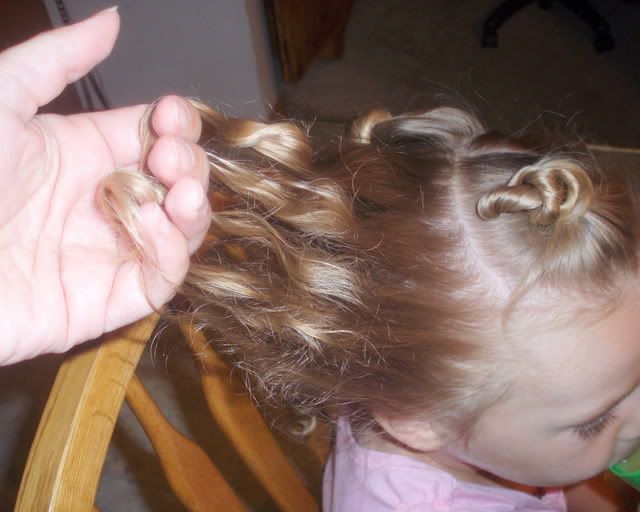
It will be very curly,
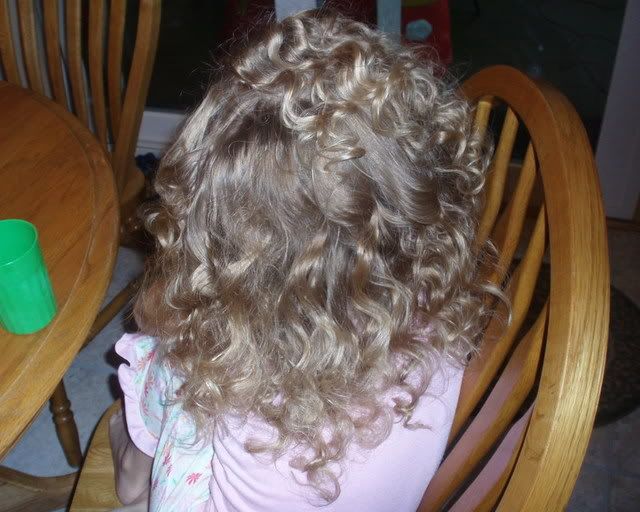
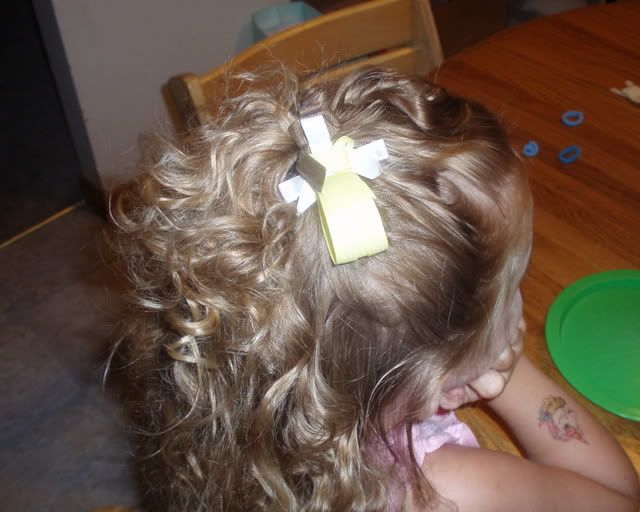
If you want to keep the curl tight for longer, style the hair and spray with a hairspray.
If you don’t spray it, the curl will loosen over time to more of a ringlet, which is what I like for my model
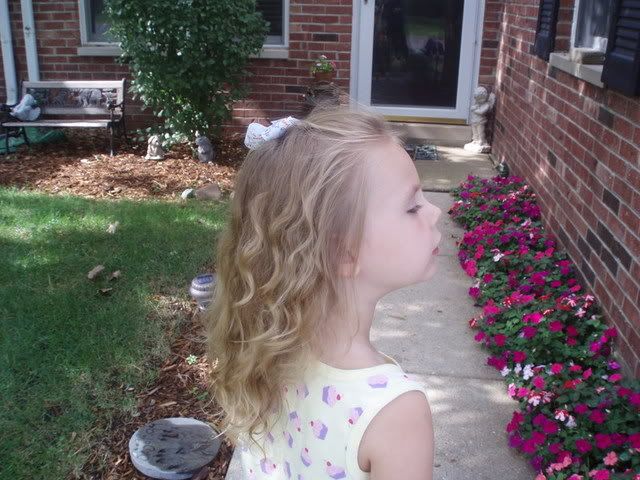
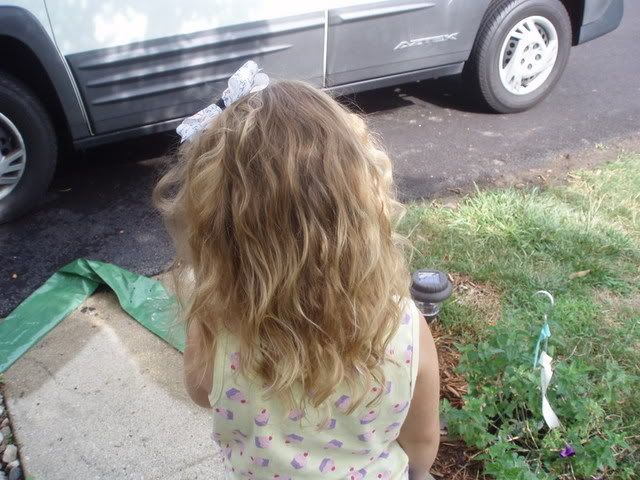
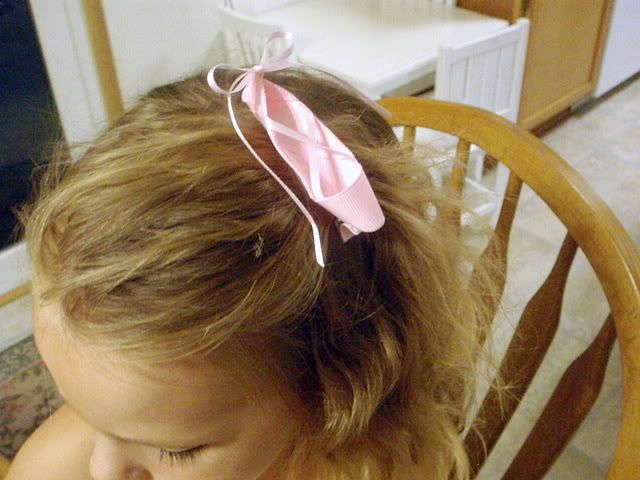
Again, you will need to experiment with how many and how big the sections will need to be for the texture and density of the hair you are using. Also keep in mind that the thicker the hair, the longer it will need to dry. An option is to set the hair after it is completely dry, just mist it lightly with water and liberally apply styling product. That should shorten the dry time. You can also help it along with a blow dryer (a diffuser attachment is very helpful!). If using heat to dry the hair, allow it to completely cool before releasing the knots.

4 comments:
Her hair looks so pretty! Kalla's hair is still so fine, but she does have natural curl...mostly on the ends as if I'd rolled it. :)
I'm loving this blog and wanted to let you know I gave you a shout out on mine for inspiring me to try new things with my 6-year-olds hair. I will be trying that 'curly-for-a-day' one this weekend I think! Thanx so much for all your sharing!
http://doingthingsineverthoughtiddo2.blogspot.com/2008/08/dome-decor.html
I LOVE the ballet slipper clippie! :)
I'm used to seeing Bantu Knots on very curly hair to make a different curl pattern, so it was interesting to see them used on straighter hair to achieve more curl. Nice work; it looks cute!
Post a Comment