Here is something you can do with all that beautiful wired ribbon! Make a pouch to put little treasures or favors in!
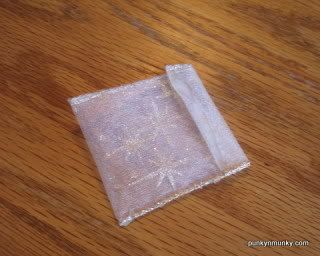
The following instructions will show you how to make a sheer ribbon pouch that measures approximately 2.5” x 2.5”. Perfect size for clippies! Use different sized ribbon and different lengths to get various sizes of pouches.
Supplies:
2.5” Sheer Wired Ribbon
Hot Glue Gun and Glue Sticks
Waxed Paper
Ruler
Scissors (NOT your best fabric cutting scissors!)
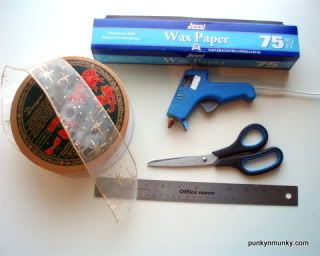
Step 1: Set up your work area by placing a sheet of waxed paper down on your work surface, and tear off an extra piece as shown. If using something other than sheer ribbon, the waxed paper may be unnecessary.
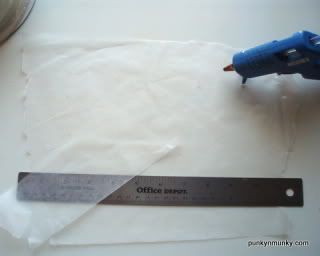
Step 2: Measure 6.5” from the end of the ribbon and cut.
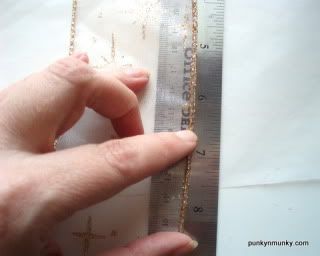
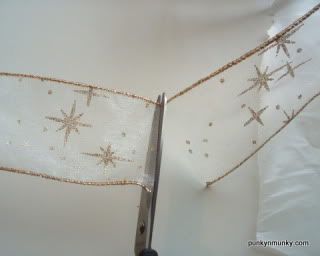
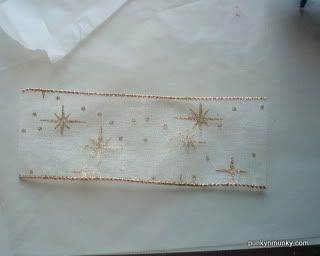
Step 3: Measure approximately .25” from the cut edge and fold the ribbon, crease, then open back up slightly. Using your hot glue gun put a bead of glue along the edge. Immediately replace fold and using the scrap of waxed paper press the fold to seal the glue. Quickly remove the waxed paper from the top and from your work surface if using sheer ribbon before the glue cools completely. Otherwise you’ll be peeling paper off of your pouch! Repeat on other end, folding both to the same side.
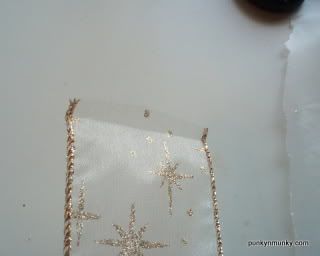
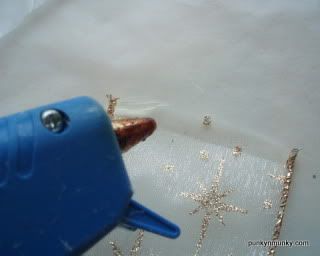
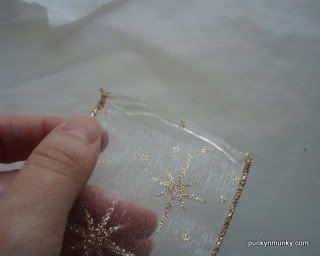
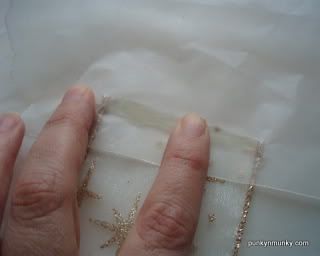
Your ribbon will now measure approximately 6”.
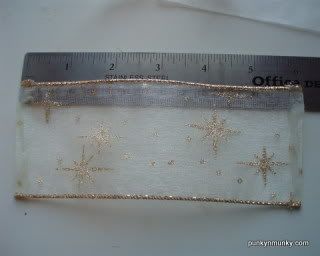
Step 4: Measure 2.5” from one end and fold/crease.
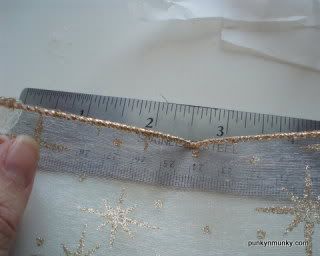
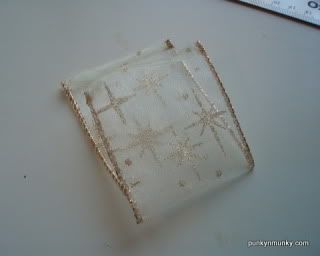
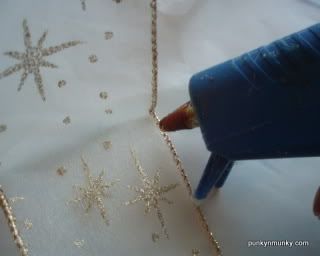
Place a bead of hot glue along the short wired edge and press together. Repeat on other side.
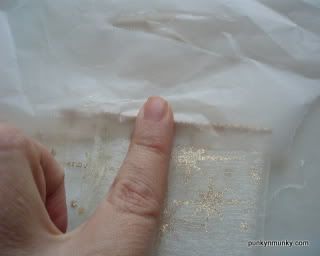
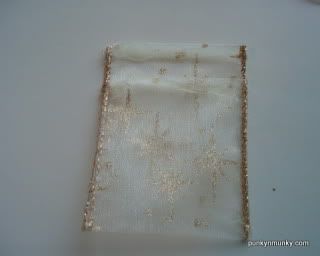
Step 5: Fold the end that is extending over to make the flap covering the opening.
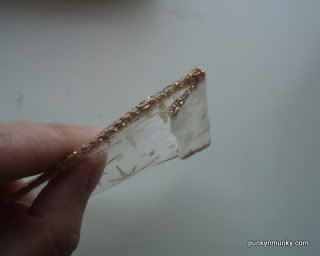

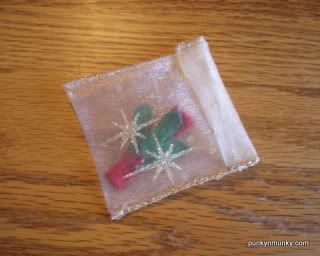
Place any small treasure into the pouch, perfect for gift giving! The sample pouch made in these instructions is just the right size for clippies! You can even make it a little longer to accommodate a business card!
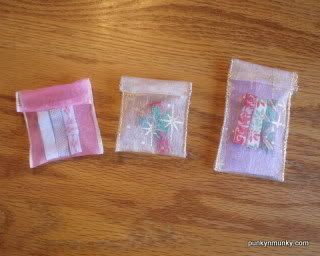
Hope you enjoy!
Wendy

3 comments:
Thank you SO MUCH for sharing that,,!! What an awesome idea:)
I love your work and your blog!!
leigh-NC
Okay that is just genious!! thanks for the great idea!
Wendy, you always have the best ideas! I have a ton of that ribbon left from the holiday! thanks
~marci
Post a Comment